Unless you grew up on a dairy farm, the very idea of making your own cheese probably seems intimidating, complicated and time consuming. Fortunately, I’m here to tell you that it’s shockingly easy to make many milk-based products at home. Absolutely anyone can do it.
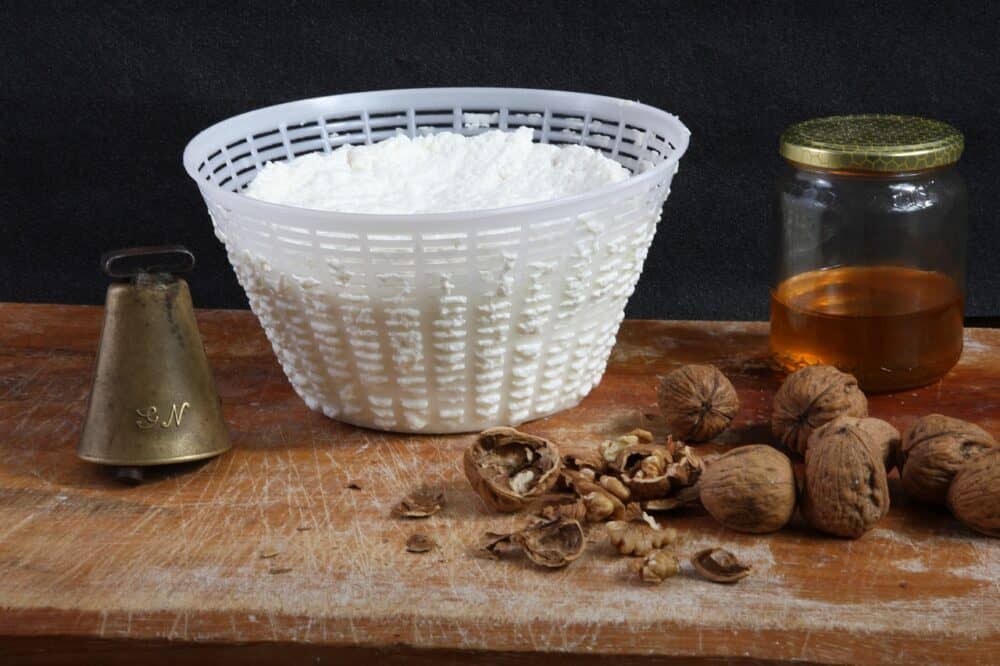
My personal philosophy in the kitchen is that anything worth cooking can be made with very few ingredients. These cheeses require only two at most – a base of milk, yogurt or heavy cream; and an acid of either lime juice or vinegar. You’ll also need cheesecloth for straining, and large mason jars or other containers to set them in.
Cheesecloth can be challenging to find in some parts of Costa Rica. Depending on where you are, chorreador coffee sieves might be a better substitute (those white circular sock-looking things found at any supermarket for just under $1). Three or four stacked disposable coffee filters will work just as well.
I like to pair them with one or more large mason jars (the quantity of jars depends on how big the batch is). Mason jars come with a two-part lid: a flat circular piece, and a screw ring that goes along the rim of the mouth to hold it in place. Put away the flat piece, and just use the ring part to hold the cheesecloth in place.
Some websites claim that you also need a thermometer for cheesemaking. I tried one, but quickly abandoned it. Most reasonably priced units sold in stores are highly inaccurate – so unless you want to drop a fortune on an electric one, it’s just as easy to eyeball the milk’s temperature by how it’s behaving.
Following these idiot-proof directions – even loosely – and you will succeed. I promise. And if you don’t, well…
Let’s start with ricotta, because it’s the most confidence-boosting of the three. This is because a) the cheese curds form quickly, making it feel like a science experiment and b) the recipe is (almost) completely foolproof.
RICOTTA
How to use it: lasagna, risotto, scrambled eggs, cannoli filling, pizza topping and eating right out of the jar
What you’ll need:
- 2 liters raw or pasteurized milk (8 cups), (not ultra-pasteurized, because it won’t curdle well – it’s a completely dead food without live enzymes)
- 2-4 tablespoons vinegar
- 2-5 Non-reactive pot or saucepan* (stainless steel or non-stick will work)
- Cheesecloth or substitute
*I’m told using reactive pots can leave your dairy products with an unpleasant color or taste. For what it’s worth, I accidentally used a reactive aluminum pot and my batches turned out just fine.
Directions
STEP ONE: Put milk in the saucepan on medium heat.
STEP TWO: Wait until the milk starts to gently simmer (when a slight film develops on the surface, you’re getting close). With the heat still on, add the vinegar and stir gently. The curds will separate from the whey like magic, right before your eyes.
STEP THREE: Use a slotted spoon to scoop out the curds and place them in a strainer or cheesecloth. Strain for 30 seconds for moist cheese, or for several minutes for drier cheese. Done!
Two liters (8 cups) of milk yielded about 2-3 cups of ricotta (about half the price of store-bought cheese). You can use the leftover whey to water tomato plants.
CREAM CHEESE
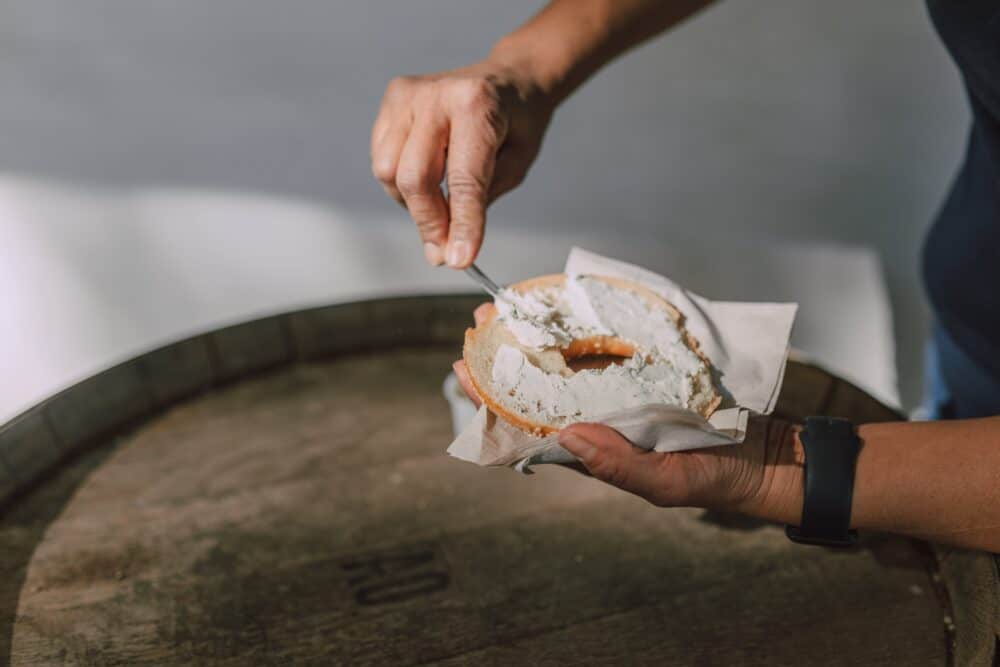
How to use it: creamed spinach, bagels, cheesecake, sauces, spreads, chip and veggie dips
Although you probably won’t save boatloads of money by making your own cream cheese versus buying a generic brand in the store, you will be rewarded with a much tastier product.
What you’ll need:
- plain, full-fat yogurt*
- cheesecloth or substitute
- large mason jar or container
*I’m told that making your own yogurt is easy, so it might be worth a try. Personally, after three failed attempts I gave up and just bought some at the store.
Directions
STEP ONE: Set your cheesecloth or chorreador filter inside of a large mason jar or other container that can catch the whey.
STEP TWO: Pour the yogurt into the filter and let it strain overnight.
In the morning, you’ll have cream cheese.
MASCARPONE

How to use it: cheesecake, tiramisu, bruschetta, dipping fruit and vegetables, spread on strawberries
What you’ll need
- 2 cups of heavy whipping cream
- Lemon/lime juice or vinegar
- Stack of 4 disposable coffee filters or cheesecloth, ideally (chorreadores will also work in a pinch but may require longer wait time)
- 1-2 large mason jars or large container container
- Non-reactive pot or saucepan (stainless steel or non-stick will work; aluminum or cast iron will not)
Pronounced mass-car-pone-nay, this one requires the most wait-time of these DIY cheeses – but it also comes with the greatest payoff. Two cups of heavy whipping cream yields almost the same amount of final product.
Directions
STEP ONE: Heat up two cups of heavy whipping cream in a nonreactive saucepan.
STEP TWO: When it begins to gently boil, add 1-2 tablespoons of lemon juice or vinegar
STEP THREE: Set the timer for 5 minutes. Stir, keeping it at a simmer the whole time (just below boiling). You may have to adjust the heat frequently.
STEP FOUR: Take mixture off heat and leave it alone for about 30-60 minutes. It should thicken up quite a bit by the time it cools.
STEP FIVE: Place the cheesecloth (or stack of four disposable coffee filters) inside your mason jars, affixing just the ring-part of the lid to hold them in place. Pour the mixture into the filters one at a time, taking care not to let them slip inside the jars.
(Real cheesecloth or disposable coffee filters seem to work best when it comes to straining this particular cheese, but a chorreador will work in a pinch. The larger the surface area and the thinner the layer of cream, the better.)
STEP SIX: Cover and stick it in the fridge for at least 24 hours – preferably 48 hours. The mason jars will catch any whey that falls, but there shouldn’t be much.
STEP SEVEN: Check for smooth and creamy consistency. You know the mascarpone is ready when it has a thick enough viscosity that you can slice a knife through it. If the mixture is liquid or runny at all, it needs more time in the fridge.
To speed things up, scoop out the more solidified “ready to eat” parts around the edges and place them directly another container. This will allow more space for the watery cream that still needs straining.
You can eat it as is, or get crazy and add some grated lemon peel, dried fruit or nuts.
Now go impress your friends!